Loft Bed Project
The discovery was made during one of my well earned coffee (Facebook) breaks. My friend posted pictures of her and her hubby's weekend project converting their sons closet into a toddler bed and reading nook. This allowed the whole room to be used for play! She is an early childhood educator and a creative genius
When I asked if I could blog it she was more then willing, in fact she blogged it here. I have provided her instructions and pictures down below.
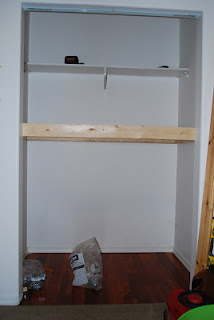
Decide on the height of the loft; we chose 4' since the closet is 8'
Install your supports, screwed to the studs in the walls and into anchors if additional support is needed.
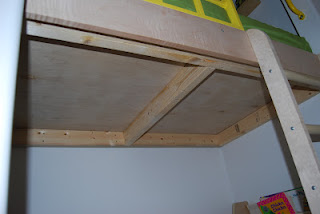
Cut a sheet of plywood the dimensions of your closet space. Depending upon the size, you may need to cut it in half in order to install. We were able to install ours as a single sheet. We did not screw our plywood down, allowing access from underneath if ever needed.


Paint or varnish your window and install it with screws. Ensure it is a very tight fit into the space, gives it lots more strength.

The handle you see was bought many years ago for a play ground set but I'm sure you can get them at Canadian Tire or Home Depot. The ladder we made ... lengths of wood for the sides, dowels, a spade drill bit (the same size as the dowels you choose. Decide how many dowels you want to use and mark your wood on both pieces. Drill through the outside to the inside of your side rails with a small drill bit. Then, use your spade bit on the inside of the rails to create a pocket for the dowel to sit. Use glue to add strength and screw in your dowels.
Accessorizing:
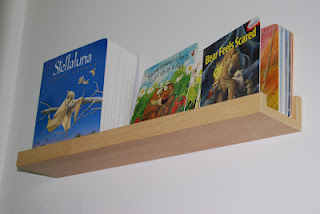
Ikea Picture Ledges: http://www.ikea.com/ca/en/catalog/products/70177062/


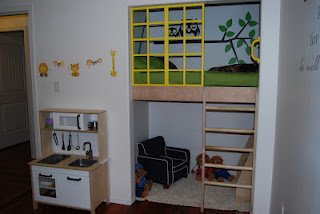
The finished Product!